Resume Management
Getting Started
Laravel Resume Management is a multi-user profile script. You can easily add your Services, Experiences, Skills, Portfolios & Blogs without any coding skills. This script is perfect to promote yourself and your business focused on multi-user, portfolio, freelancer, photographer, artworks, art, artist portfolio, web designer, illustrators, designer, developers, programmers & coder.
Server Requirements
- PHP >= 8.0.0
- Laravel >= 10
- BCMath PHP Extension
- Ctype PHP Extension
- cURL PHP Extension
- DOM PHP Extension
- Fileinfo PHP Extension
- JSON PHP Extension
- Fileinfo PHP Extension
- Mbstring PHP Extension
- OpenSSL PHP Extension
- Mbstring PHP Extension
- PCRE PHP Extension
- PDO PHP Extension
- Tokenizer PHP Extension
- XML PHP Extension
Installation
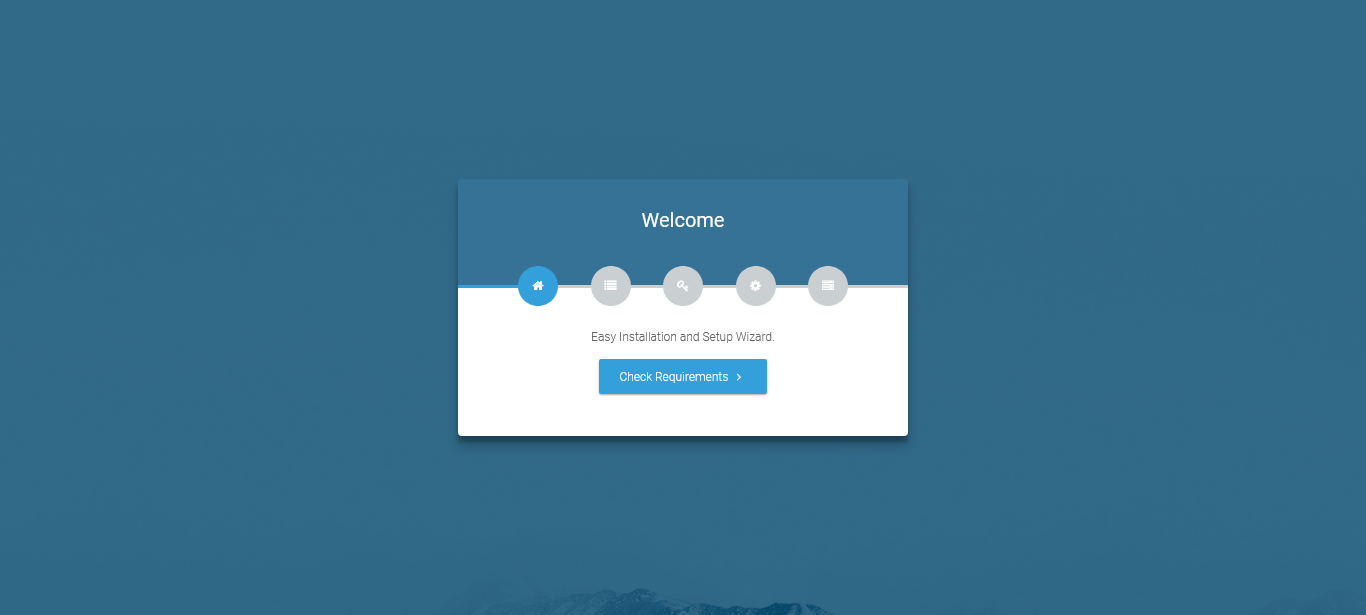
Step 1 - Welcome Screen
After creating the database next step is accessing the application URL from a browser. One thing you need to know is that Laravel is designed to allow HTTP access to the application from your public folder only. This means that this application will be available at yourdomain.com/public. It is good enough for installation and development purposes, however, for production, you will probably want to have your application available at yourdomain.com. In next section, I will show you how you can accomplish that.
To open the installer. Visit
OR On Local Sysytem. Visit
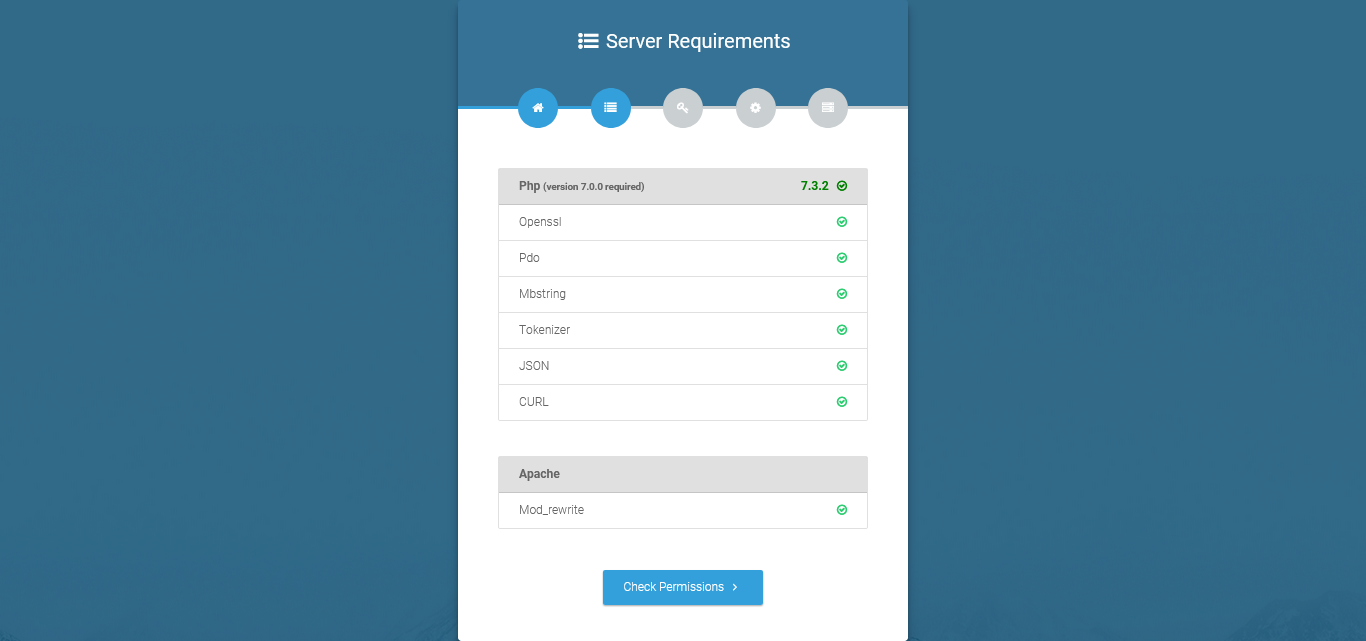
Step 2: System Requirements
After clicking on "Next" button, you will be redirected to System Requirements step during the installation wizard, System Requirements.
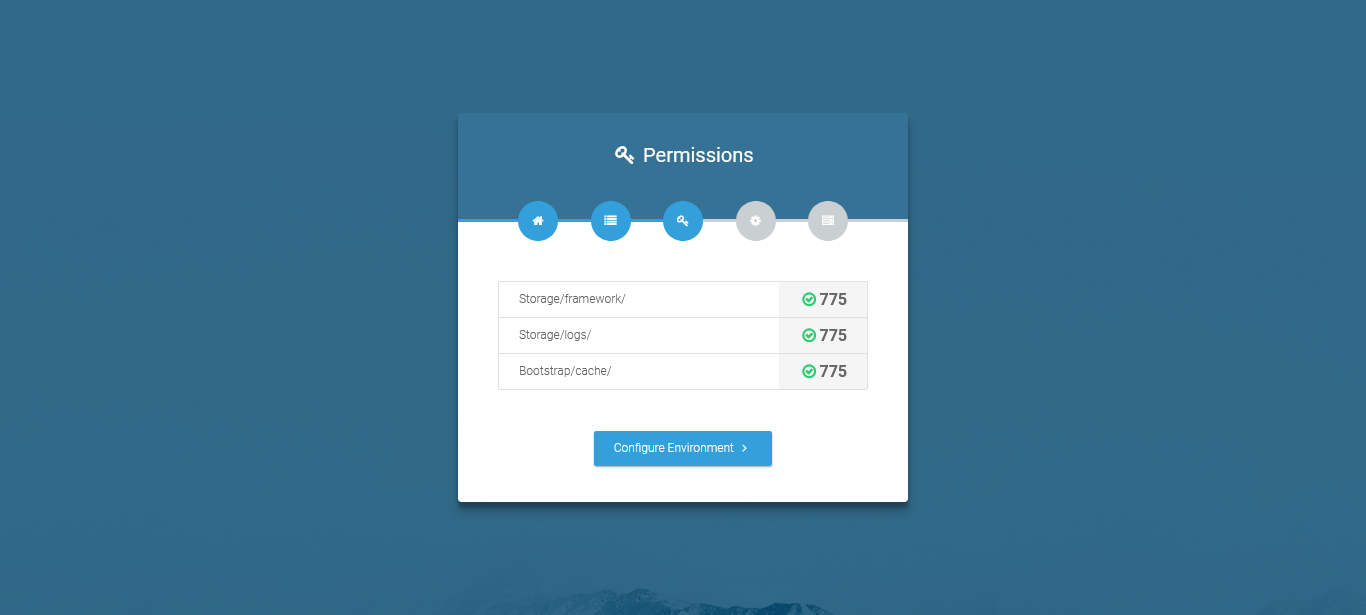
Step 3 - Directory Permissions
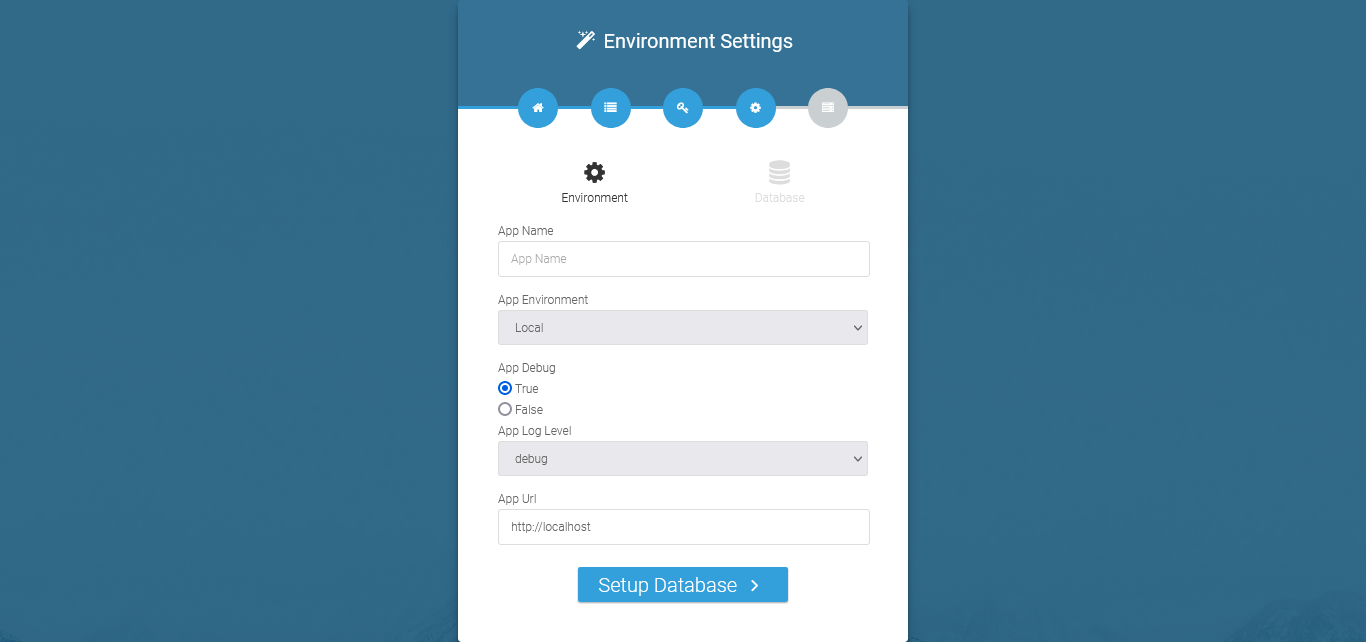
Step 4 - Environment Setting
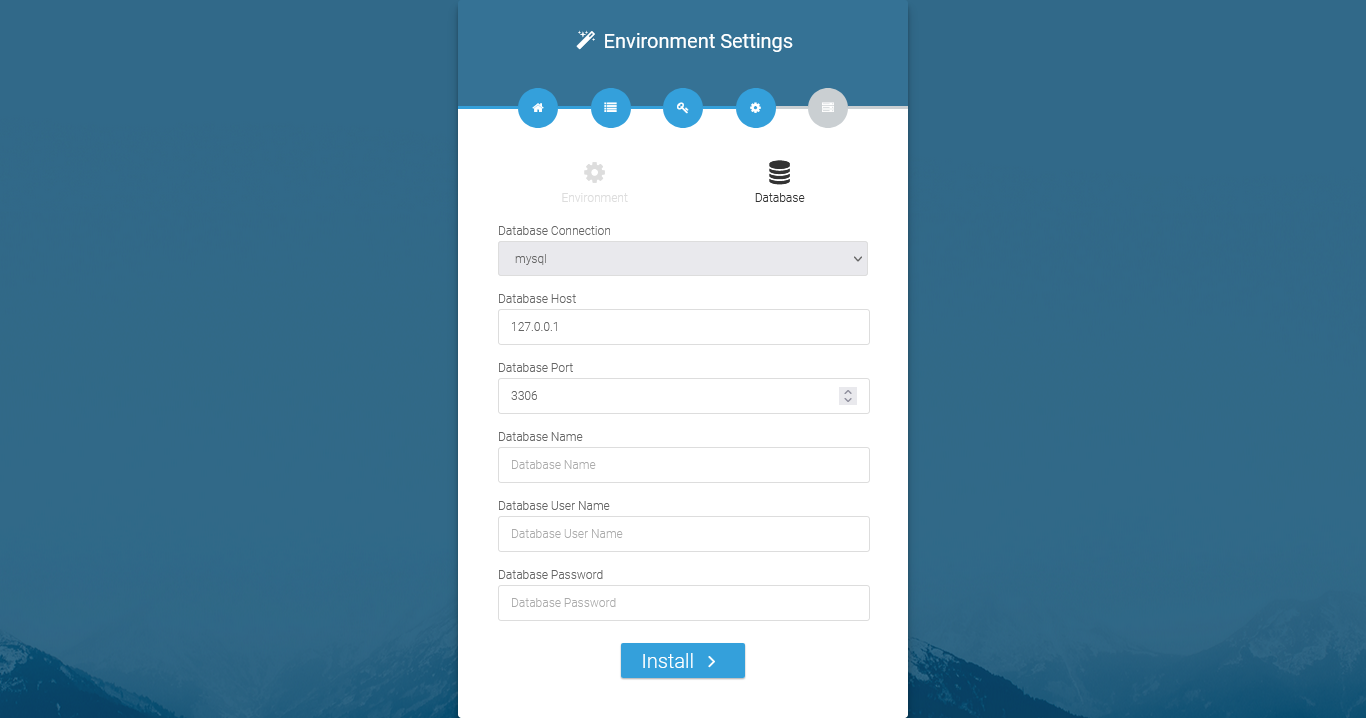
Step 5 - Database Setting
On step 2 you have to fill in your database credentials
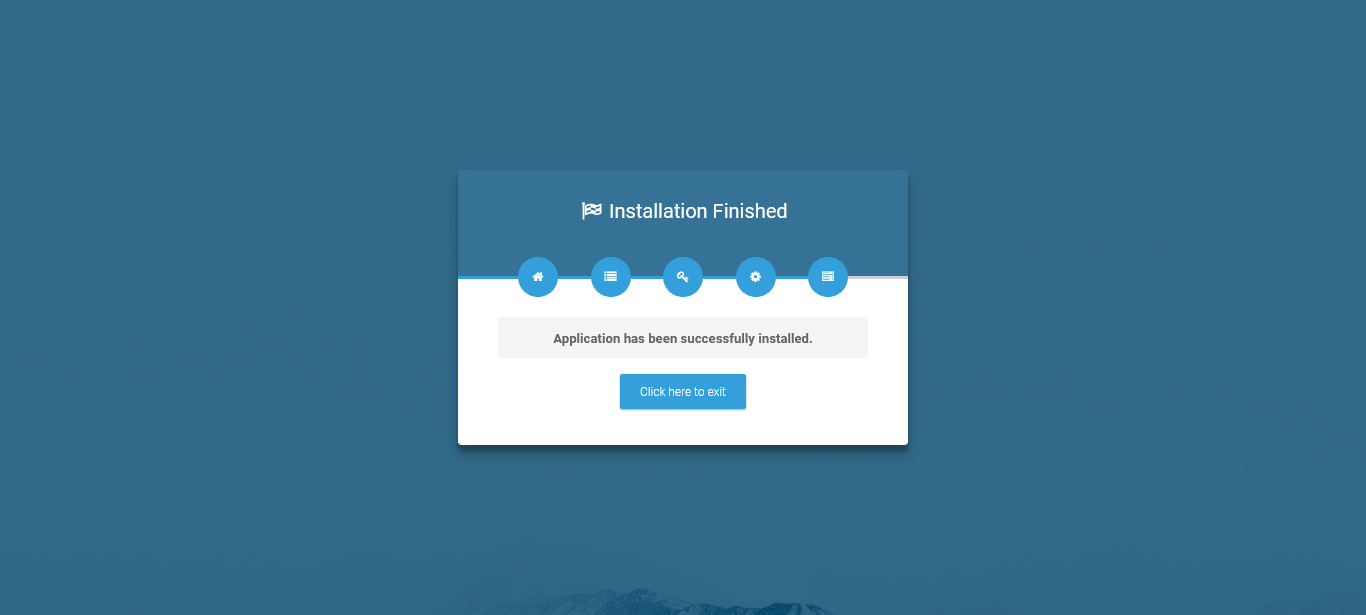
Step 6: Exit
The last step is exit step.
Features
Resume Management Features
|
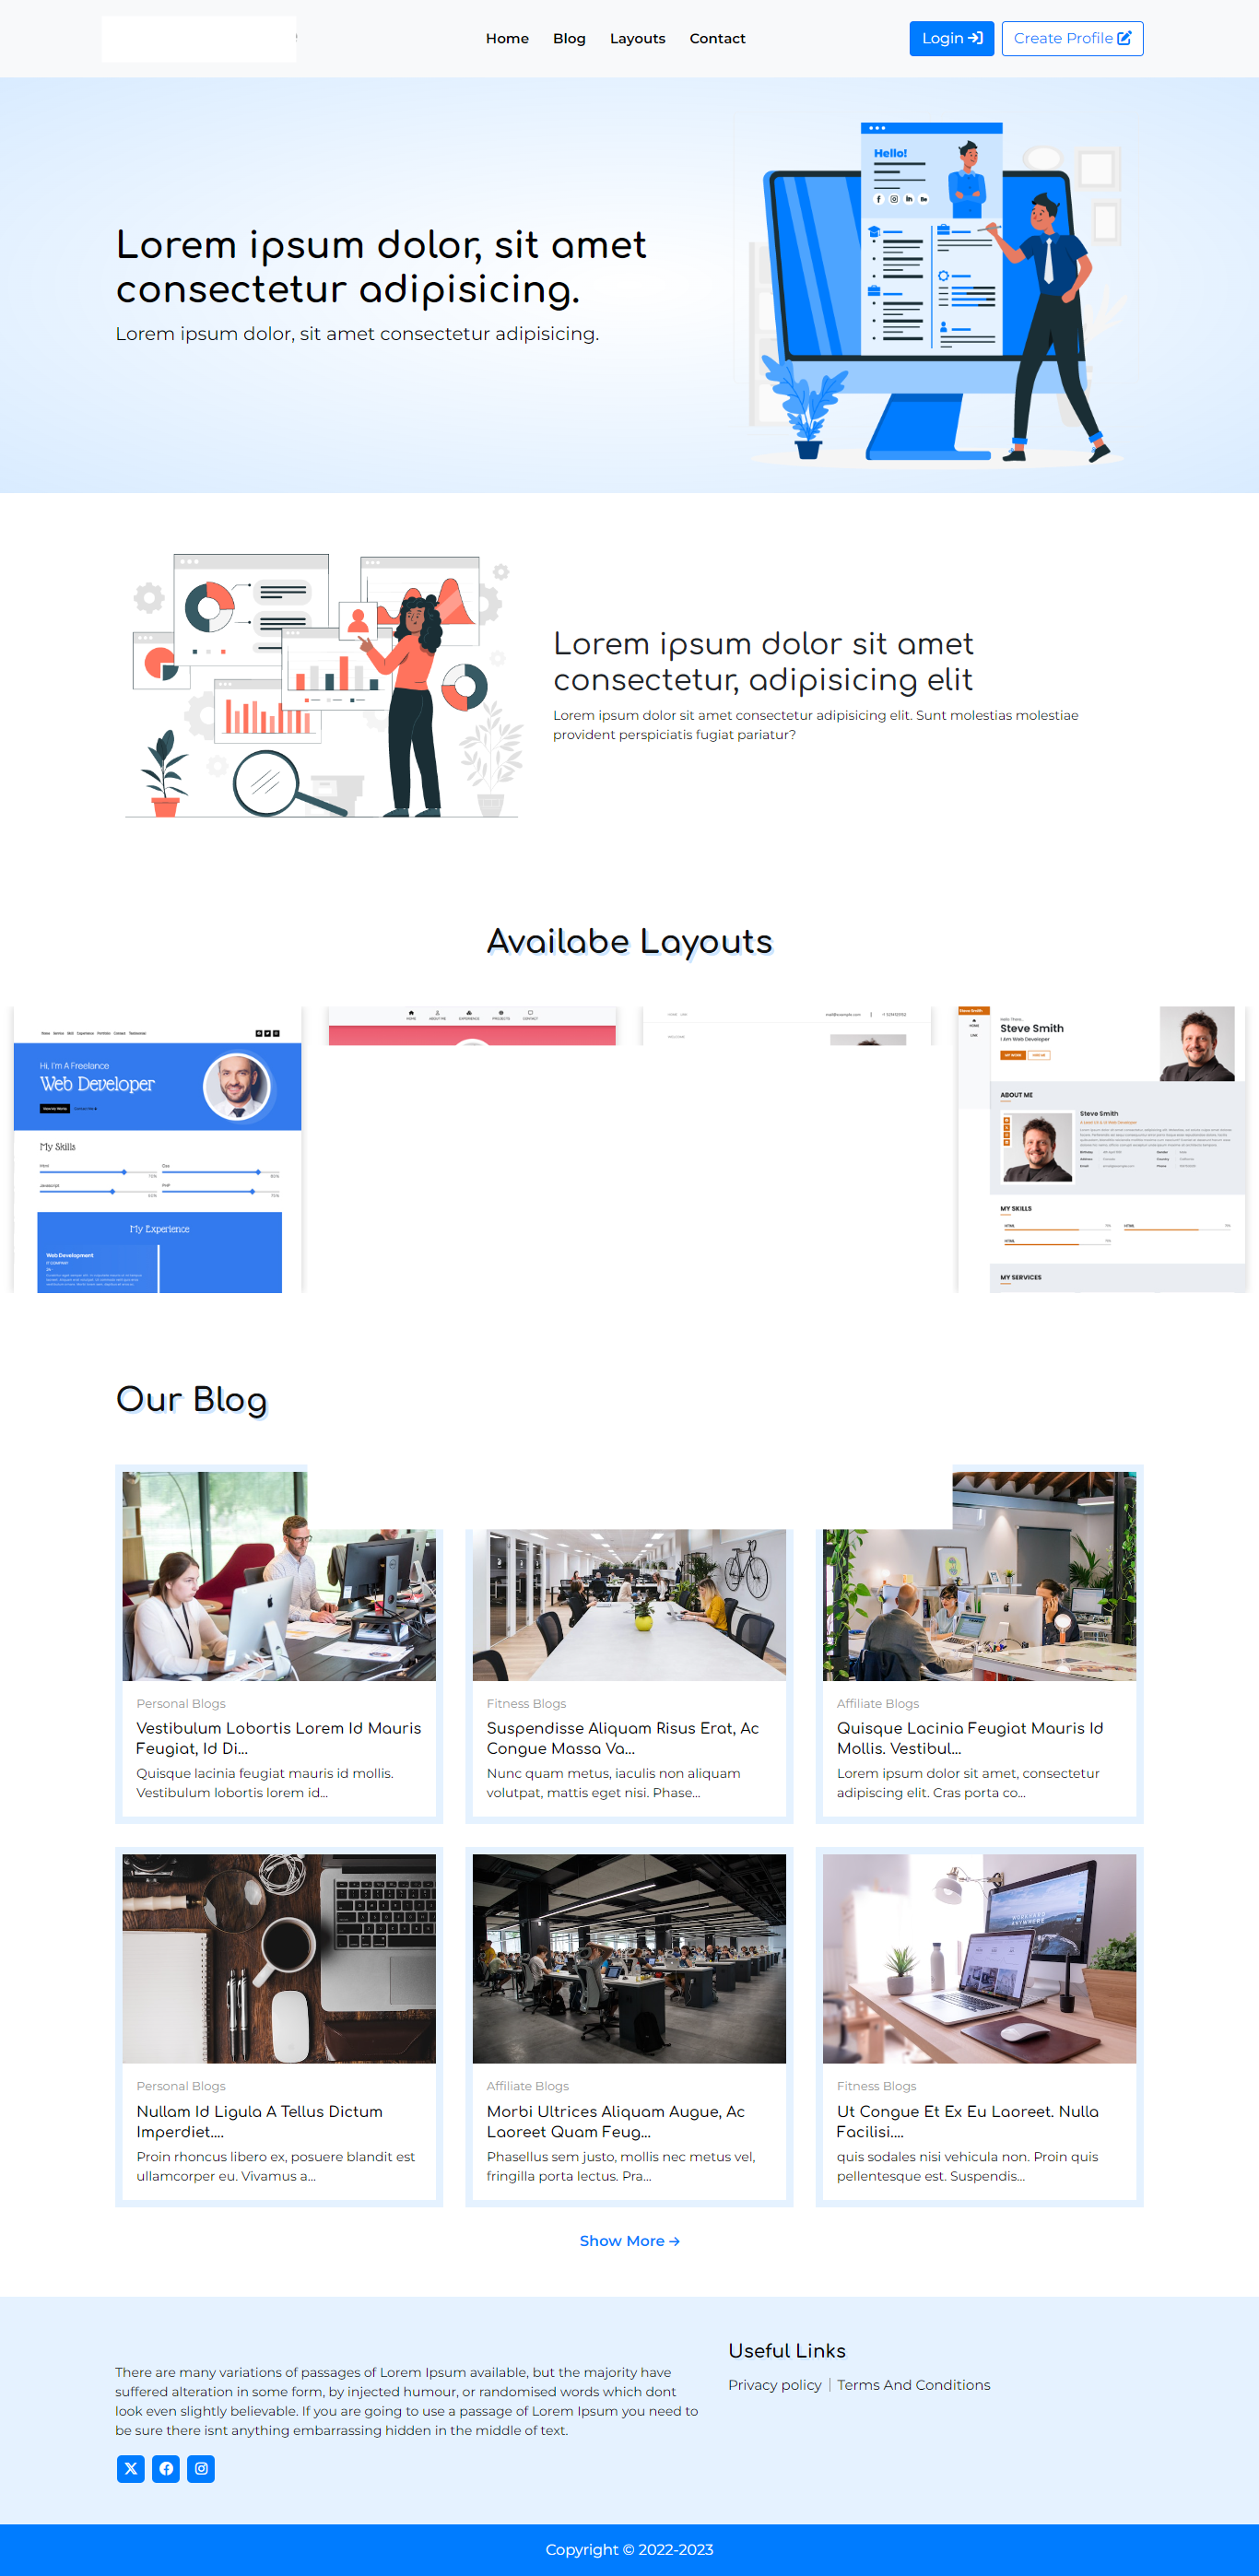
Home Page
Setting Up Application
After your successfull install your application, now you need to setting your app.
Log to your application and go to :
For Admin Login Visit : yourdomain.com/admin
Username: admin

Password: 123456
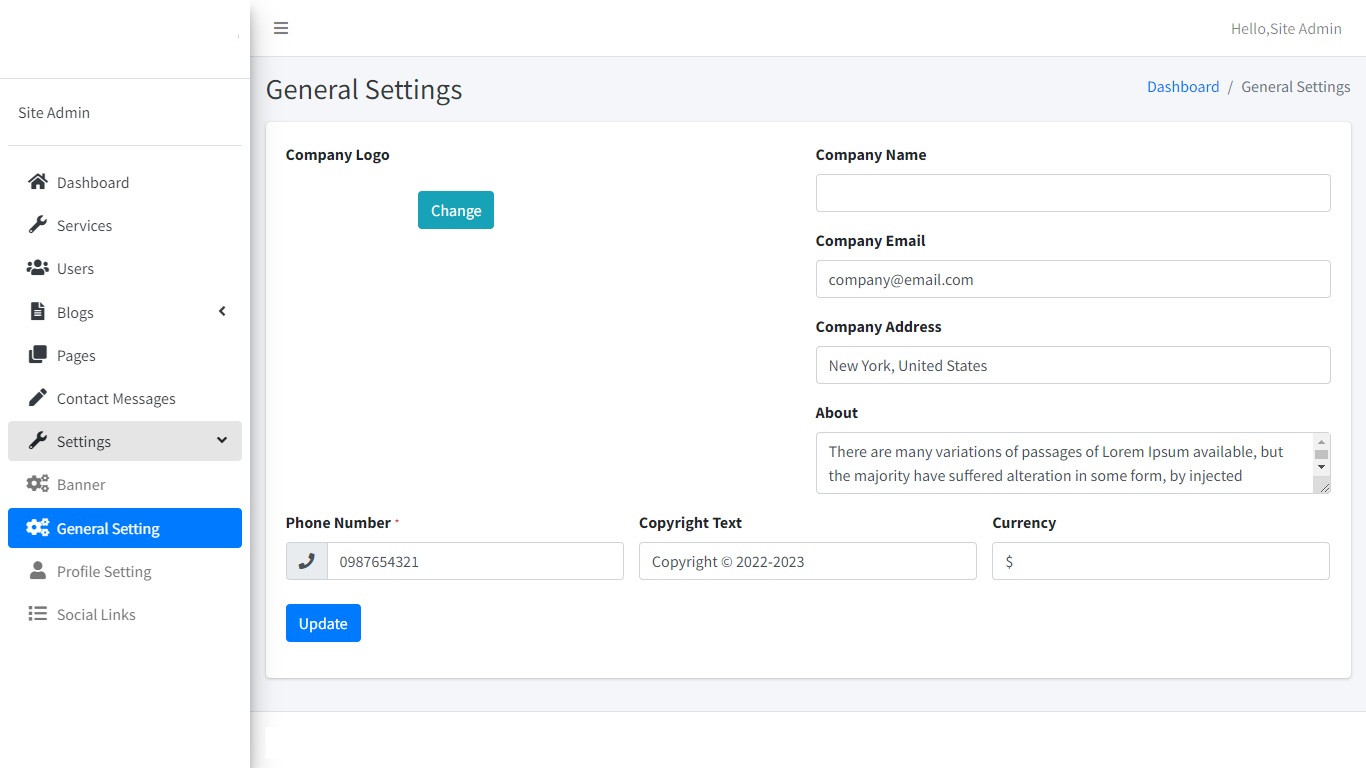
Go to : Settings » General Setting
General Setting
Dashboard

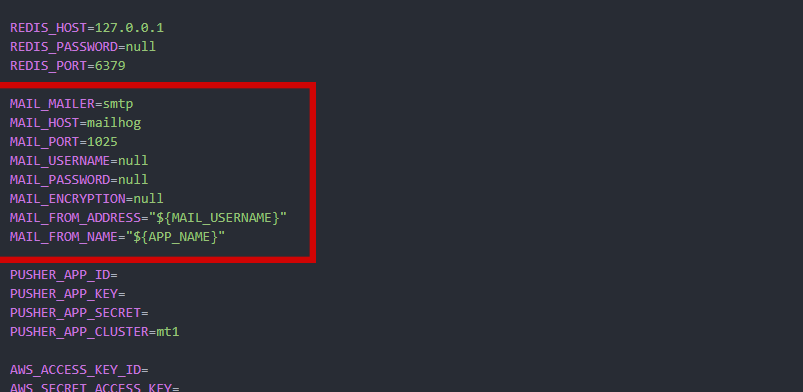
Outgoing Email Settings
This email is used for users who forgot their password and reset their password
Change Payment Credentials in .env file in your project root folder